Some people think that to create a targeted, individualized ad audience for your Facebook ads, that you have to have special technology or guru-level marketing knowledge. Believe me, this is not the case. You can easily create audiences based on, for example, people who have viewed your site; returning customers; or any list of names and email addresses you’ve compiled and want to target.
Facebook has made this easy by including the ability to install a snippet of Facebook-specific tracking code into your site. That might sound difficult, but it’s not.
Installing the Facebook Pixel
One way that you can create ad audiences that are customized to your prospects, is to install the Facebook Pixel on your website, to track Facebook users who visit your site.
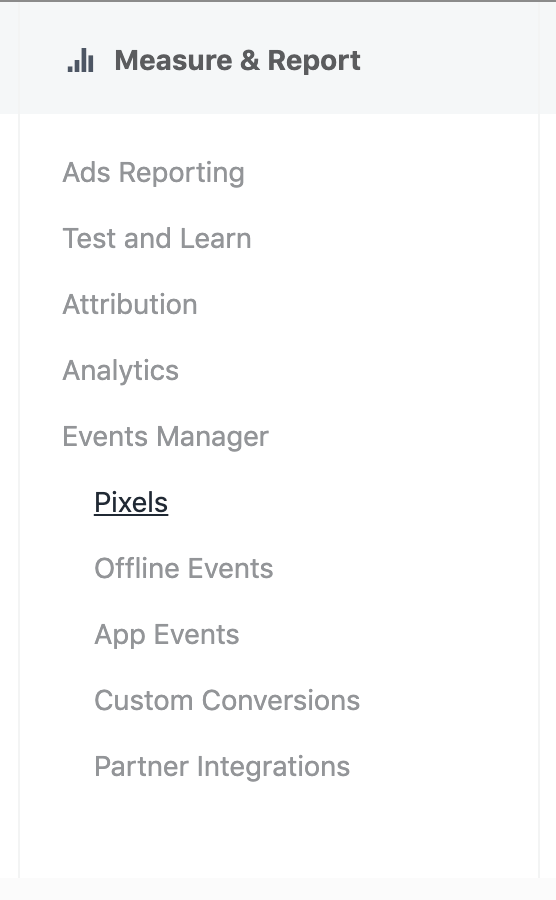
Installing the pixel is easy. You can create and copy the pixel code from your Facebook page’s event manager. Here’s an article from Facebook on how to generate and install your pixel on your site.
The process is rather simple. Once you initiate the creation of the pixel, you can add it to your site, or specific site pages, by pasting the code into your web page header.
Configuring the Pixel
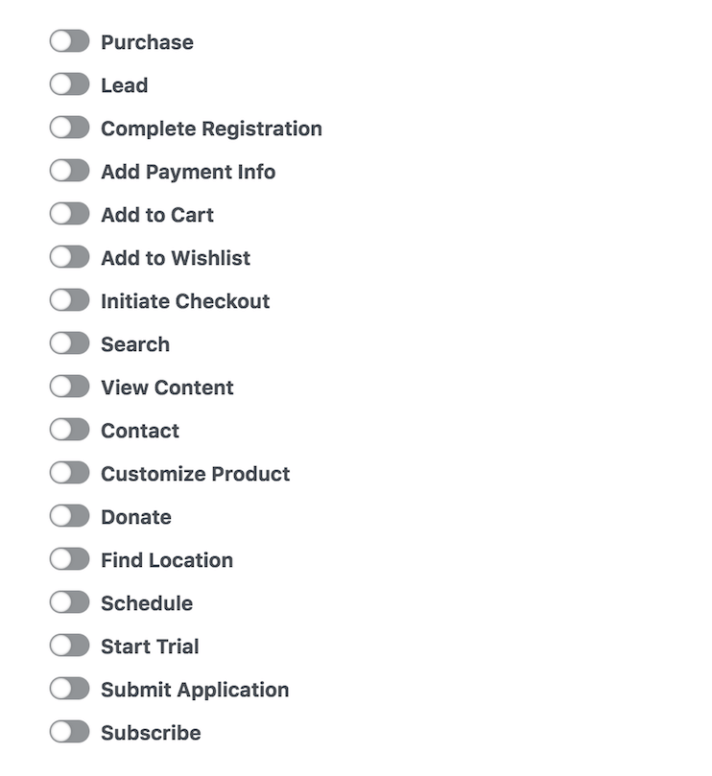
You can configure your pixel to track visitors, or visitors who take a specific action on your page. There are a plethora of options—track any that could help you target a highly converting ad later on.
Turn on the specific actions that you want to track by clicking Install Events, and adding the relevant options.
Using the Pixel
Using Facebook’s pixel allows you to create individualized audiences fairly easily. The data collected by the pixel is stored directly in Facebook, so that you can choose from your newly created audiences right in your ad campaigns. Depending on the features you’ve set up, you’ll have options for a number of different audiences, based on their actions.
Using Your Own Lists

If you already have a list of valuable contacts, and you want to bring them back into your funnel by retargeting ads to those contacts, you can skip the pixel business altogether, and upload your own list of contacts to Facebook. This is a great option when you want to target existing customers, or folks who have attended an event, or reached out to your team in some way.

Simply upload your list of contacts, with as much identifying information as you can. Email address is a great place to start, but the email address you have on file may not be the same one your contact used to register a Facebook account. For that reason, you’ll want to include any information you have on your contacts, to help Facebook target the right individuals, without leaving anyone out. Facebook provides a list of valuable identifiers that you should consider including.
Making the Most of Individualized Audiences
Once you’ve uploaded your own list, or created an audience using the pixel, all you have left to do is create kick-ass ad copy, and target it at the right people, at the right time. Remember, content may be king, but context is what makes sales.
You always want to use what you know about your audience to deliver them the best content at the best time, and in this case, you have the advantage of knowing exactly who your ad will be seen by, and exactly how they interacted with your business in the past. Use that knowledge to your advantage, and you’ll be creating high-conversion ads, that don’t use a lot of ad spend, because of their limited audience. An advertising win-win.
Your next step… is to tackle look-alike audiences!
Looking to get a better return on your Facebook ad spend? Need help getting qualified leads? Give me a shout. Happy to help.

6 thoughts on “Individualized Ad Audiences for Facebook”