Retargeting. This buzz-word keeps popping up on marketing blogs and social accounts lately. Basically what it means, is that you are targeting an ad at someone that has already made some sort of conversion on your site. Presumably, that person was already targeted by some kind of marketing effort, so if we aim an ad at that person, we are, effectively, re-targeting that same person.
Effectively, this allows you to create campaigns and ads aimed directly at people who have viewed specific pages on your site, or made specific actions. This narrows your audience pool, lowers your ad spend, and increases your ROI.
What is a retargeting ad campaign?
So what does retargeting mean in practical terms? It means tracking website visitors, and then creating ads aimed directly at them, based on the actions they’ve take on your site.
It seems kind of complicated, but with a little set-up on the back end, it’s not very difficult at all. You just need to plan out what sorts of actions you want to be tracking, and what sorts of ads are going to convert best. You also need to make sure that you’re getting enough traffic and conversions to be able to target those individuals. So this is definitely a tactic that comes after you’ve gained some ground with traditional SEO and awareness ads.
Tracking Website Visitors for Retargting
I know, the idea of tracking your website visitors can seem complex and daunting. This is the part that always seems the most technically challenging and difficult, but it’s not that hard, really. Facebook has made it easy to track visitors to your site, with a Facebook-specific piece of tracking code that you can easily install (or have your site administrator install for you). That piece of code is known as the Facebook Pixel.
The Facebook Pixel
Facebook’s tracking code snippet is known as the Facebook Pixel. The Pixel is what will allow you to create high conversion retargeting ads. It allows Facebook to connect to your site, and recognizes whenever a Facebook user views one of your pages, so that you can target ads to them later.
Installing the Facebook pixel on your site is one of the most important marketing changes you can make to your website, and it only takes minutes.
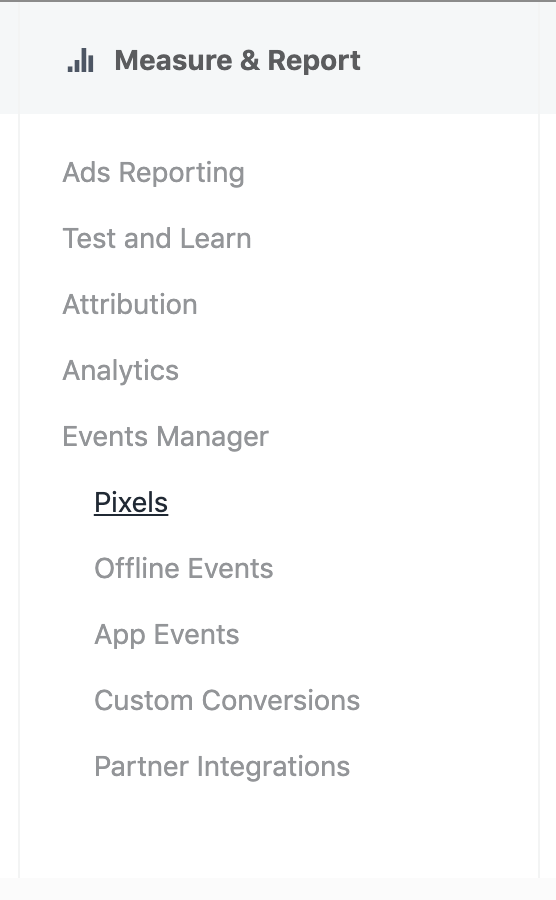
Installing the Facebook Pixel
Installing the pixel is easy. You can create and copy the pixel code from your Facebook page’s event manager. Here’s an article from Facebook on how to generate and install your pixel on your site.
The process is rather simple. Once you initiate the creation of the pixel, you can add it to your site, or specific site pages, by pasting the code into your web page header. This will immediately connect your website with your Facebook presence—but there are a few other steps you can take to further customize your retargeting campaigns.
Configuring the Pixel
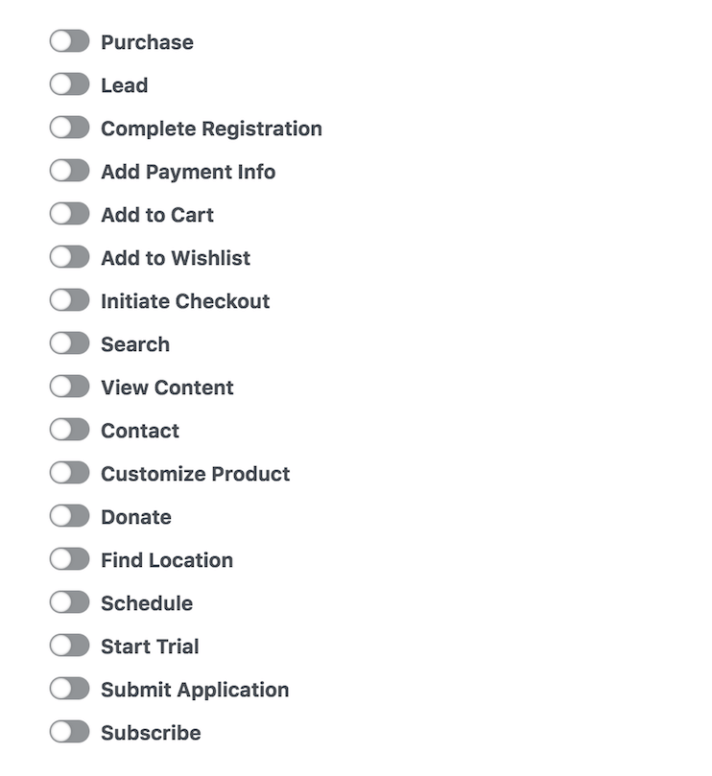
You can configure your pixel to track visitors, or visitors who take a specific action on your page. The possibilities for creating targeted ads based on all of the different actions offered are endless. This is where the process starts to really get fun. You can target visitors who make specific actions, or visitors who view specific pages—to start giving really well-tailored ad experiences.
Turn on the specific actions that you want to track by clicking Install Events, and adding the relevant options.
Creating Retargeted Ad Audiences
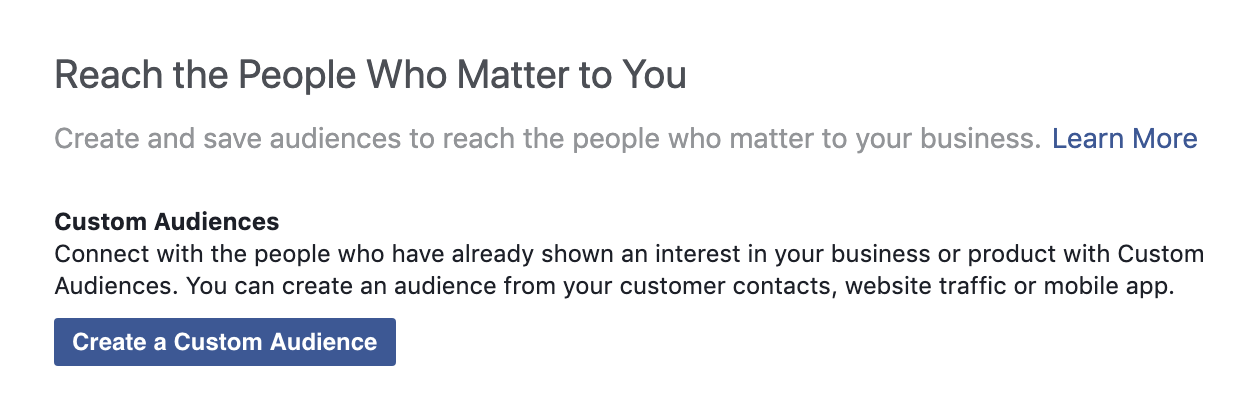
Once you’ve installed your Pixel, connecting your site to your Facebook page, you can begin creating custom ad audiences. Custom ad audiences are audiences that are built based on your own data, as opposed to data publicly available to all Facebook advertisers. So instead of basing your audiences on general demographic and geographic information, you can base them off of things like pre-made lists of leads, or actions being tracked by your Facebook Pixel.
Custom Audiences
In your Facebook Ads Manager, you’ll see the option to access your Audiences in the Assets column. Creating a custom audience is pretty simple, now that your Pixel is installed. Click the audiences link, and the first option you see is to Create a Custom Audience.
If you’ve never created an audience before, it will look like this:
If you have some audiences already created, it will look more like this:
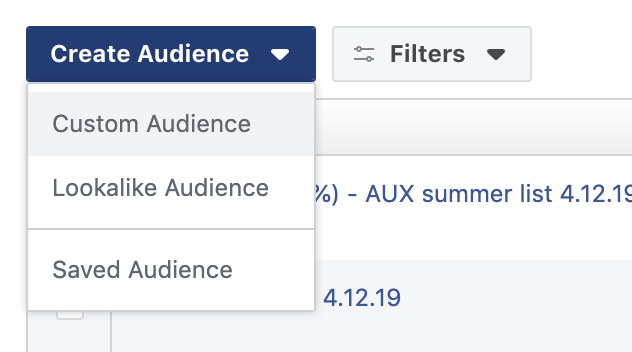
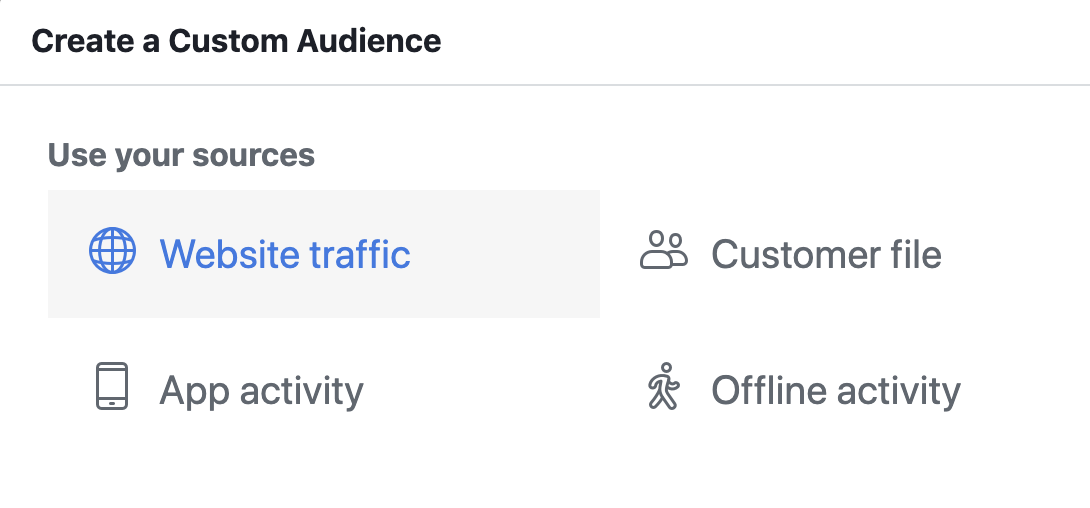
In either case, you’ll want to click the Create Custom Audience button. Next up you’ll be given a number of options for creating your Custom Audience. In this case, we’ll be going with Website Traffic.
Retargeting Criteria
Here’s where it starts to get really fun. You can choose to target all of your website visitors, within a specific time frame (up to 180 days in the past), or you can select specific pages to target. (Retargeting someone who has happened upon your landing page is a great reconversion tactic.)
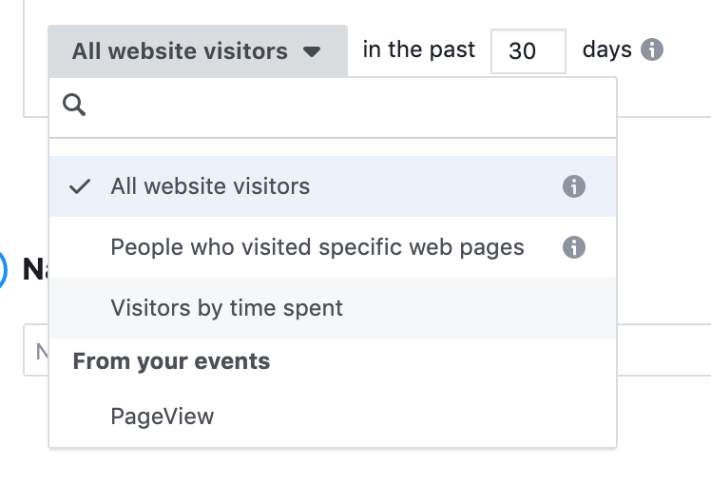
You can also choose to target website visitors based on how much time they spend on your site, or based on the Events that we set up earlier.
Think about the possibilities, and what they could mean for your business or your clients’ businesses. Specific, contextual ads based on the behavior of your prospects. Ads that directly target people who have already made the first step towards making a purchase. Pump out some useful audiences based on high converting landing pages, or product sales pages, and push products and services directly to the people who are looking for them.
Conclusion
By setting up your Facebook Pixel, and tracking the visitors on your site (and the actions that they’ve taken) you can create high-conversion ad campaigns that target far fewer people and spend far less per click. The possibilities for retargeting your website visitors are practically endless. Combining your skills for writing killer ad copy, with highly tracked, customized audiences, will be a game-changer for your online marketing budget.
Need help setting up your own retargeting ad campaigns on Facebook? Give me a shout! Happy to help.

7 thoughts on “‘Retargeting’ Ad Campaigns on Facebook”