We’ve talked a lot about different strategies to get the most out of your engaged audiences. We use a lot of Facebook and Instagram ads to generate leads for businesses, and you can certainly make marketing strategies work using just these channels alone. For many niches though, you’re going to have to break into Google ads, because that’s just where people are looking.
Why Choose Google Ads
So why would you choose to focus on Google ads at certain stage in your funnel, as opposed to Social Media? Simply, it’s where people are looking.
When people are actively searching for a product or service, they will go to Google. If they need to make a decision immediately, they will make it from that Google page—and your ad could be the difference between being chosen and not being chosen. One of the best, most extreme examples of this, is someone searching for a bail bond company because a loved one is behind bars. Chances are, they are going to pick something from that first page, and get to it.
Other times, you have a chance to use this Google search to drive a prospect into your funnel. For products that aren’t as time sensitive, but start out as a google search, you can utilize a cross-platform outreach approach, to follow your prospect from where they are searching (Google), to where they are hanging out (Facebook, Instagram, etc.).
Targeting Google Ads
To start your broad funnel using Google ads, you’re going to focused mainly on your keywords, and generating valuable copy. At this early stage in your funnel, you want to think about how to build awareness and trust for your brand. Focus on providing answers to the questions people are searching for—be helpful!
This is a strategy to reach a broad group of people, but that doesn’t mean that your content needs to be vague or generalized. Figure out what people are searching for in your niche, and create specific content around those questions. Promoting more specific content, with longer, more detailed keywords, will cost you less, and put you in front of the right eyes!
Creating an Audience from your Google Outreach
Now that you have a Google ad running, sending folks to your content, it’s time to track those people so that we can retarget them with more, relevant offers. If you haven’t set up your site to work with Google’s remarketing program, check out the next few steps to get going.
GOOGLE SITE TAGS
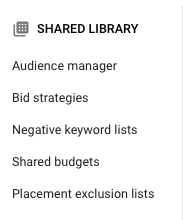
Hop into your Google ads account and you’ll be able to access the Audience Manager tab. Click the “tools” icon, and click Audience Manager under the Shared Library column.
From here, click Audience Sources on the left of the screen. There you’ll see the option for Google Ads tags. Googles Ad tags work very similarly to Facebook’s Pixel, and is also very similar to the Google Analytics tracking code in a way. They are all pieces of tracking code, that can determine who is visiting your site and connect that back to either their Google/Youtube accounts, or in the case of the Pixel, their Facebook/Instagram accounts.
INSTALLING ADS TAGS

There are a few options for installing the Ads tags; the option to install it yourself is your best bet for getting up and running as soon as possible, and it isn’t too tricky to do. For most sites, you’ll want to copy the global site tag, and then install it in the header of your site. This tag tracks overall visitors to your site, which is great, but the next step is even more important.
You’ll want to copy the events tag as well, and embed that onto each relevant page of your site. This will allow Google to better understand your site, and the behaviors of your visitors. With this information, you can target extremely contextualized ads at very specific groups of people—to great effect.
Once you’ve installed your Ads tags on all of your pages, Google will do the heavy lifting of populating some pre-designed ad audiences for you. Depending on the type of business you are running, Facebook will curate a selection of relevant audience types, and populate them accordingly. You may have more specific needs though.
CREATING YOUR OWN AD AUDIENCES
You also have the ability to create specific audiences based on page-views or behaviors. By installing the Events Tag you can track individual page views, and even the actions taken on those pages, so that you can target more specifically.
TARGETING WEBSITE VISITORS
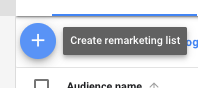
In your audience manager, click the blue plus sign to add a new remarketing list. From here you’ll see a list of options for your audience sources. Select “website visitors,” and you’ll be brought to a page with more potential than it looks.

This page allows you to create a mind-boggling number of audiences. You can choose visitors to a specific page on your site, visitors who viewed a specific page and another page, visitors of pages with certain tags, during specific time frames, etc. You are only bound by your own site pages!
I’d suggest creating a targeted ad for people who viewed your landing page, and try to nudge them to make the move and submit on the landing page. This may mean that you need to tweak your landing page or offer first—if your conversion rate is particularly low—but remarketing to those folks who have already approached your solution is usually a high-converting strategy, if you have a quality product to offer!
CHOOSING YOUR AUDIENCE
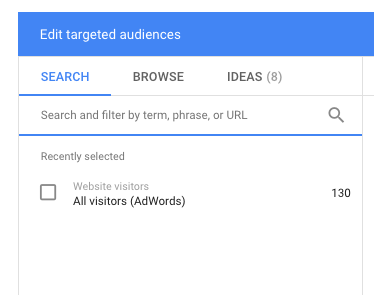
Next time you go to create an ad campaign in your AdWords account, you’ll be able to choose your new audience to target, and it will update as new prospects are added. Simply add a new display campaign and browse your audiences to select your newly created group.
Targeting Warm Audiences on Social Media
Now that we are using Google to drive relevant traffic to our landing pages, we can utilize our Facebook pixel to retarget ads to the folks who have engaged with our web pages! So rather than just retargeting on Google, we can utilize a multi-channel approach, and reach our customers where they are.
Retargeting Engaged Viewers on Facebook
Assuming that you have your Facebook pixel installed, as discussed in this blog post, it is quite easy to retarget the folks that have viewed your landing page or blog post. In this way, we can target Facebook ads at anyone who has engaged with the landing page or blog post being promoted on Google.
In your Facebook business manager, head to your Audiences asset, to create a new custom audience. Click the button to create a new audience, and select custom audience from that dropdown menu.
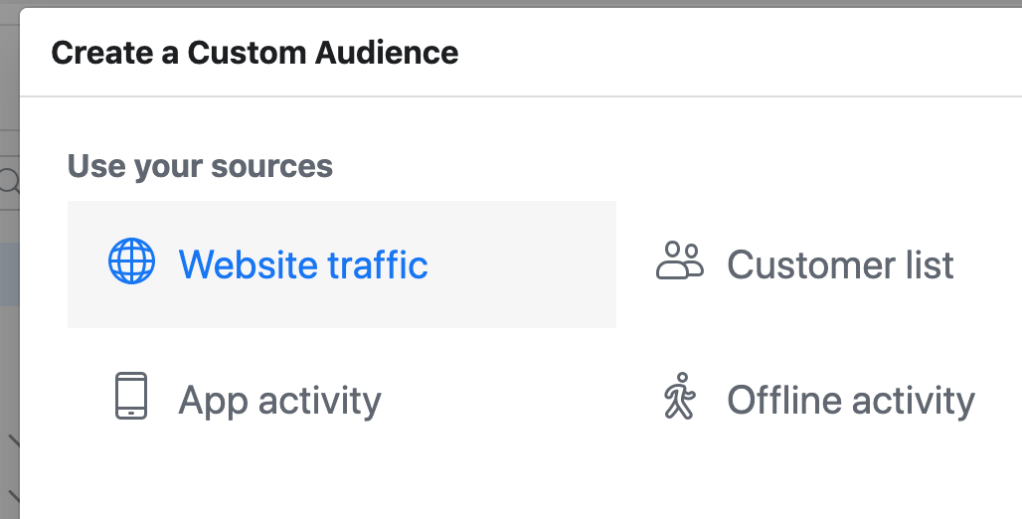
Once you’ve done this, a window will appear asking what source you want to use to create your custom audience. You have a variety of options, but for this use case you’ll want to select website traffic.
The next window gives you the option to select what traffic you want to include in your audience. In this case, we’ll want to target visitors to a specific URL. Select your pixel, select “people who visited specific web pages” and set the URL parameter to “equals.” Now you’re ready to pop your page’s URL in there, and let the pixel do its magic.
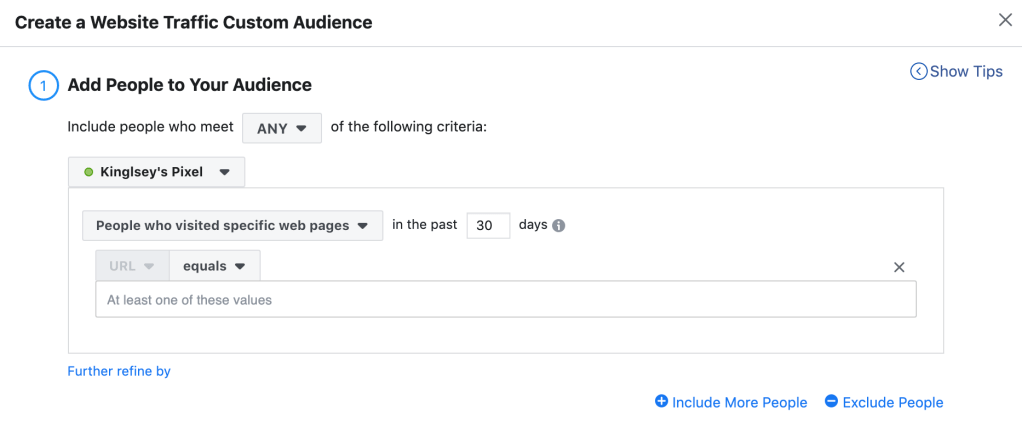
Be sure to give your audience an intuitive name, so that you can find it when you are creating your ads later on.
Create Your Facebook Ads
Now you’re ready to create a high-converting, cross-platform retargeting campaign. With an ongoing combination of Facebook and Google ads, you can easily drive prospective buyers down your sales funnel. It’s important to remember the context of the ads you’re delivering. Use your ad copy to move people to the next step in their journey.

Chances are, your retargeted ads are going to be aimed at converting prospects into customers. We’ve already engaged these people with a landing page or blog post, and now we’re ready to take them to the next stage. The best way to do this, is by setting up your ad with the conversions objective. This will automatically optimize the delivery of your ad to get the most conversions.
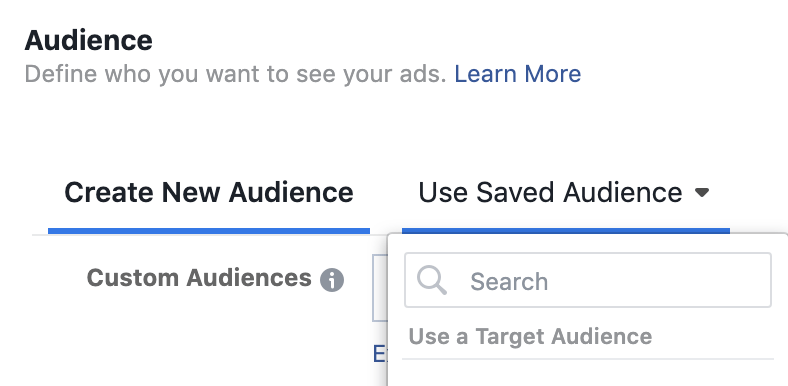
Create your conversion campaign, and in your audience selection area, choose “Use Saved Audience.” Scroll through to find the intuitively named audience that you created earlier. By using this retargeted audience, and optimizing for conversions you are putting yourself in a great position to move prospects down your sales funnel.
From here, create your ad as you normally would, choose your budget and timeline, and set your ad free!
Conclusion
Using a multi-platform approach is the best bet for running a reconversion campaign, in many niches. Using Google ads to drive traffic to a valuable piece of content helps build trust in your brand, while also building a useful custom audience. Pushing relevant ads back out to these people who have engaged with your content already is a great opportunity to turn an interested party into a customer!
Looking for some help building out your digital marketing strategy? Reach out today!

4 thoughts on “Connecting Your Google Ads and Facebook Ads Strategies: A Guide”