Here’s a trick that will help to boost engagement on Instagram, by encouraging viewers to scroll through multiple photos in a photo post. The secret? Posting a single panorama as multiple Instagram images (in the same post).
Posting Panoramas on Social Media
Posting panoramas on social media has become a bit of a bugaboo since the advent and subsequent craze for 360 degree images and video. Pushing panoramic photos to places like Facebook and Instagram tends to butt against the inherent settings with regards to 360 degree photos and videos. Facebook has offered some workarounds to this, but they are pretty technical, and from what I’ve read, they don’t work quite how you’d like.
Instagram hasn’t gone out of their way to offer anything with regards to panoramic photos. That said, the design of the user interface allows for a pretty cool way to post your panoramic photos anyway.
Let’s get to the how-to.
Overview
You’re essentially going to cut your panoramic photo up in to equal sized squares, so that you can post them to Instagram, one after another, in the same photo post. That way, viewers can scroll through them and have the effect of scrolling across one continuous panorama (provided you put the photos in the right order).
Here’s the foolproof way (it uses Photoshop).
Preparing your Panorama for Instagram
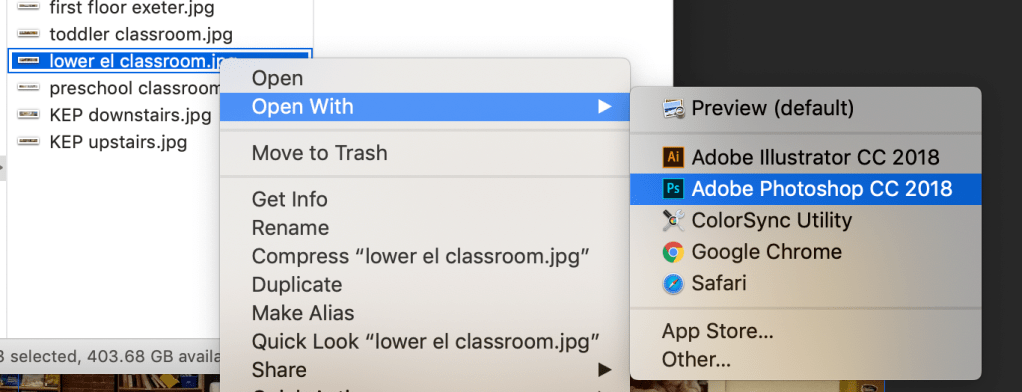
Open your panoramic image in Photoshop. Take a moment to make sure it looks good… Brightness, color balance, that sort of thing. (Now onto the real tips.)
Crop your image
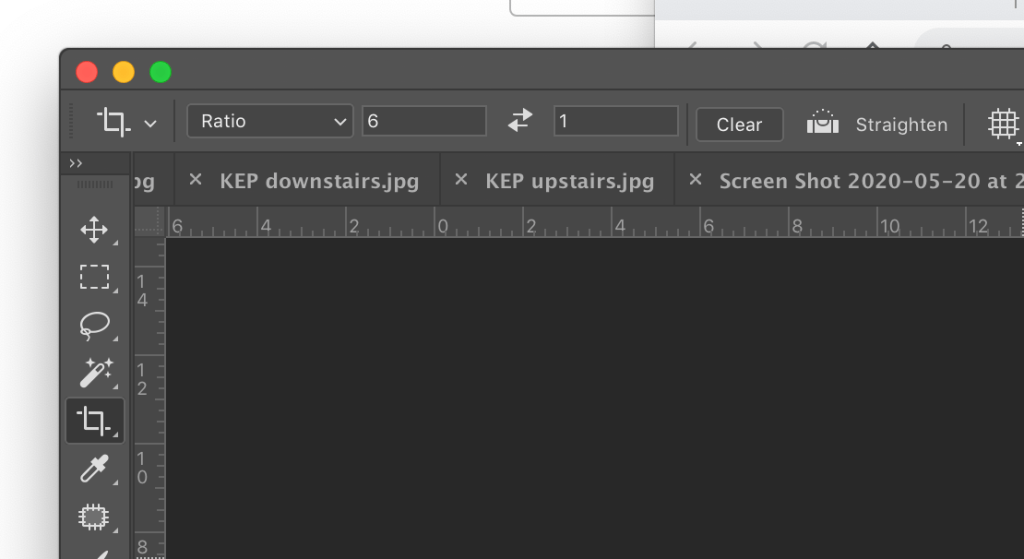
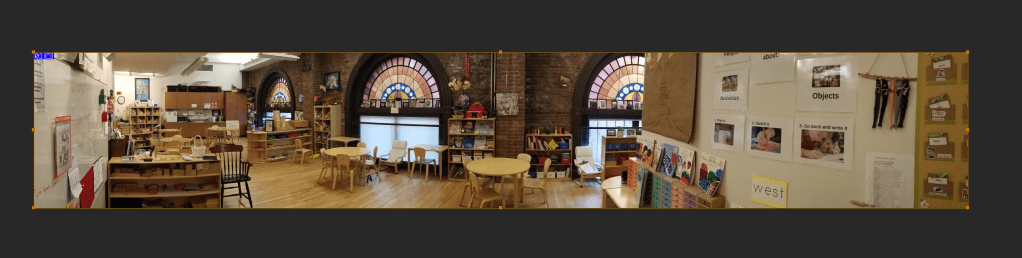
The first step is to crop your panorama so that it’s an evenly divisible ratio. This image is pretty long, so the closest we can get is to use a 6 to 1 ratio.
Select the Crop tool. In the top menu bar, you’ll be able to toggle between a few different preset cropping options. Choose “Ratio” and set your width and height (in this case 6 to 1).
You’ll see the Crop Preview on your image, letting you know how much of your image will be removed, and where. (You can always drag the image from side to side, if you’d rather cut more from one end or the other.)
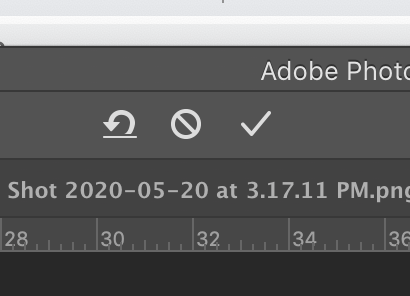
Click the check mark at the top of the screen to apply the crop.
Divide your image evenly
Your next step is to evenly divide this image into six squares. There’s an easy way to do this.
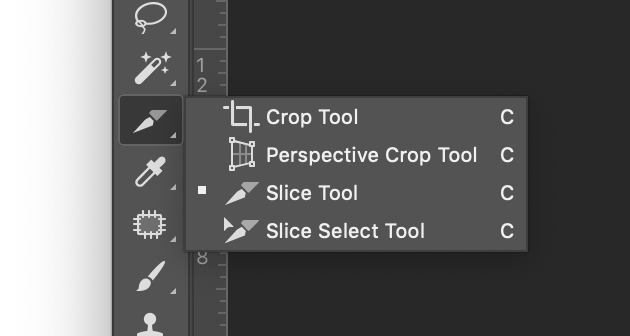
Nestled under your Crop tool (hold down on the Crop tool, and more options will appear), you’ll find the Slice tool. Select the Slice tool, and use it to draw a box around your entire image. Your image should now have this little frame around it, with a small blue box in the upper left corner.
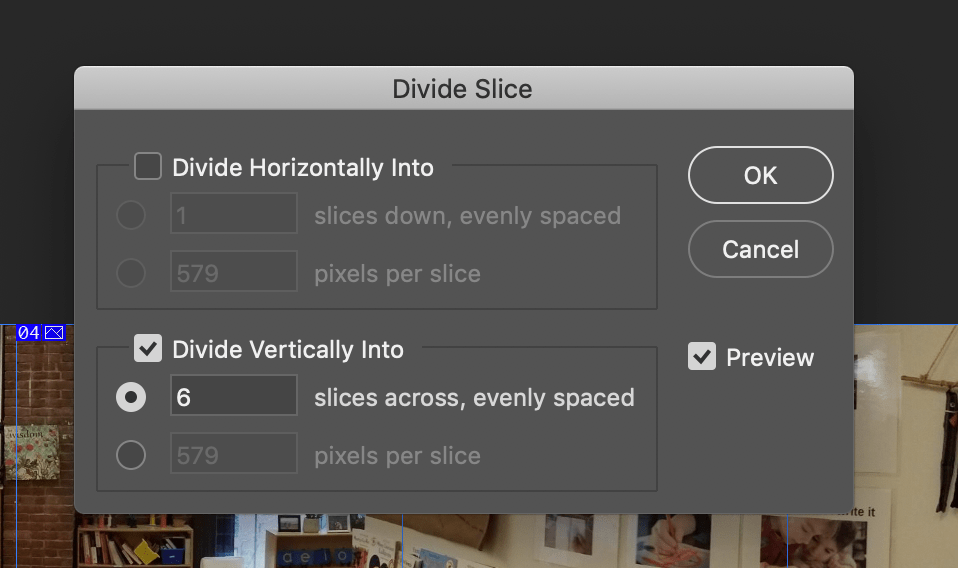
Right click on that small blue box. You’ll see the option to “Divide Slice.” Select that option, and you’ll be brought to a pop-up menu. Select “Divide Vertically Into” and enter your number of “slices” (in this case, 6).
Your image should now be divided up evenly with blue lines. Great work. Time to export.

Exporting your panorama for Instagram
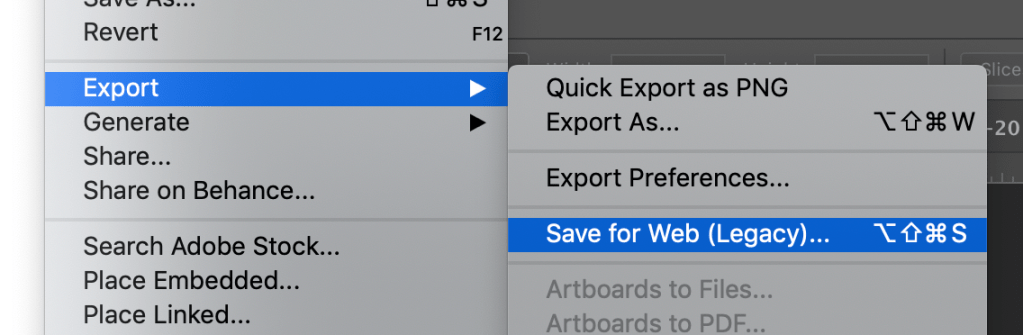
For this, we’ll use the “Save for Web” legacy tool, because it offers some useful options.
In this window, you’ll want to check a few things. First off, it makes sense to select the “Fit in View” option from the viewing preferences at the bottom, so that we can see the entire image in window.
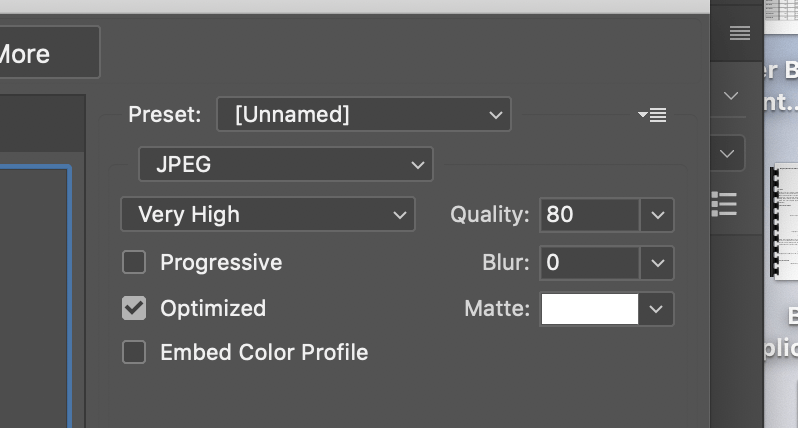
Next, you’ll want to make sure that you’re exporting as a “Very High” quality jpeg. Instagram will do its own compressing if needed. Better to give them the best quality.
Be sure to check through each of the slices (click on each slice in the preview) and make sure that each slice has the right presets.
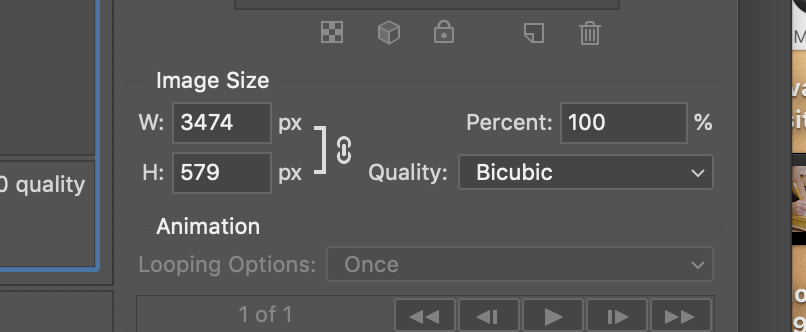
Finally, in the Image Size option at the bottom right, you’ll want to set the height to 1080, as that’s the current ideal height for Instagram images.
At this point, you’re ready to export. Click Save, and select the folder you want to save your images to. The images will be saved with the name of the file, and sequential numbering so you know which image to upload to Instagram first, second, third etc.
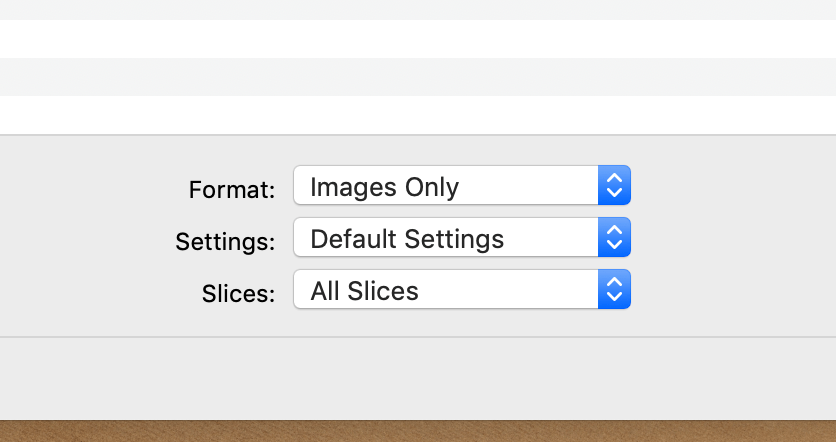
Before you save to your folder, double check these last settings in the finder window. Make sure that you’re seeing “Images Only,” “Default Settings,” and “All Slices.”
Save images to your phone
You should now have a folder of images, with all 6 of your numbered slices within. You’ll have the best luck with posting from your phone (as always with Instagram), so you’ll probably want to upload those photos to your Drive, or otherwise share them with your smartphone.
Posting Panoramas on Instagram
Now all you have to do, is log in to Instagram, select the gallery option, and add your photos in numerical order. Users will see the far left end of the photo, and be able to scroll from left to right, and back again, to view the entire photo.
Conclusion
Using the Photoshop Crop tool, set to Crop by Ratio creates an image that is able to be divided evenly into squares. Using the Split tool, you can choose to split your image into even slices, vertically, to create the square images needed to put on Instagram. Upload your photos to Instagram in the proper order, and people can scroll through your image as if it were one, continuous panorama.
